The resent re-discovery of a camera bag containing some old lenses in the dark depths of my parents’ store room set this lazy Sunday afternoon project in motion.
As it is, I am hooked on macro photography, and despite having a dedicated macro lens I have always wanted to try this. Needing only an old 50mm lens with a manual aperture ring and two adaptor rings, this is a fairly inexpensive means to try out macro.
The principle of this make-shift macro it to attach the two lenses to each other, using the filter threads on each lens – effectively reversing the front lens.
This is how to do it:
Step one: Find an old 50mm lens. I found some advertised on line for as little as a couple a hundred rand.

Step two: Buy two adapter rings (the ones used to attach the Cokin filter holder to the front of a lens), with the right diameters to screw on to the front of the 50mm lens and one to fit your standard/kit lens for your digital SLR. This can be a zoom lens.
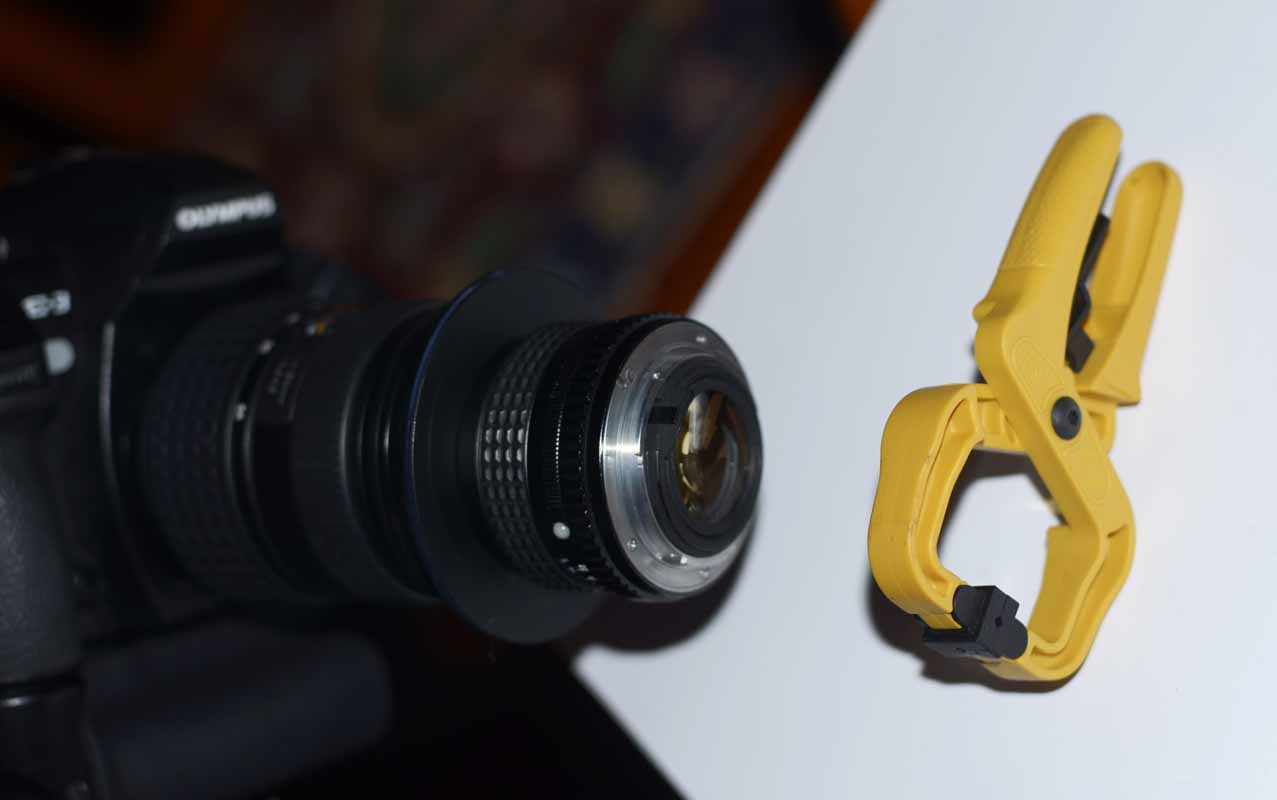
Step three: Commandeer the assistance of an 11-year old initiate to the man-cave to find ‘sticky stuff’ to glue the flat sides of the two metal rings to each other. I was lucky enough to be offered the use of his clamps as well. (Thank you, my boy!).

Step four: Wait (im)patiently for the epoxy to set…… (the hardest part of the whole process). (This was also the point when the same 11-year old pointed out to his mother that she should have sanded the two surfaces prior to sticking them together…..oops…..hopefully the bond will hold.)
Time to play:
Once the epoxy has set, screw the ring to the front of your digital lens. Reverse the 50mm lens and screw it onto the thread of the ring.
Open the aperture on the manual lens as wide as it can go.
Make sure you have switch off Autofocus on the zoom lens attached to the camera. Set the zoom lens to focus at infinity and move the whole camera backwards and forwards to focus.
You can use your camera’s metering system to get the exposure right.

Here are some of my reversed macro images:


